How to Change IP Address from Your Wi-Fi Router Using a Computer [2025 Guide]
Changing your IP address can solve connectivity issues, improve online privacy, and even help bypass geo-restrictions. If you’ve ever wondered how to change the IP from your Wi-Fi router using your computer, this step-by-step guide will walk you through the process.
We’ll explore both private IP (used within your home network) and public IP (visible to the internet). You’ll also learn when and why to make such changes—and how to do it safely.
IP Address Basics: What You Need to Know
Before diving into the steps, it’s important to understand the two types of IP addresses:
- Private IP Address: This is the internal IP address your router assigns to devices on your network (example:
192.168.1.1). - Public IP Address: This is the external IP that websites and online services see when you connect to the internet.
Each serves a different purpose and is managed differently.
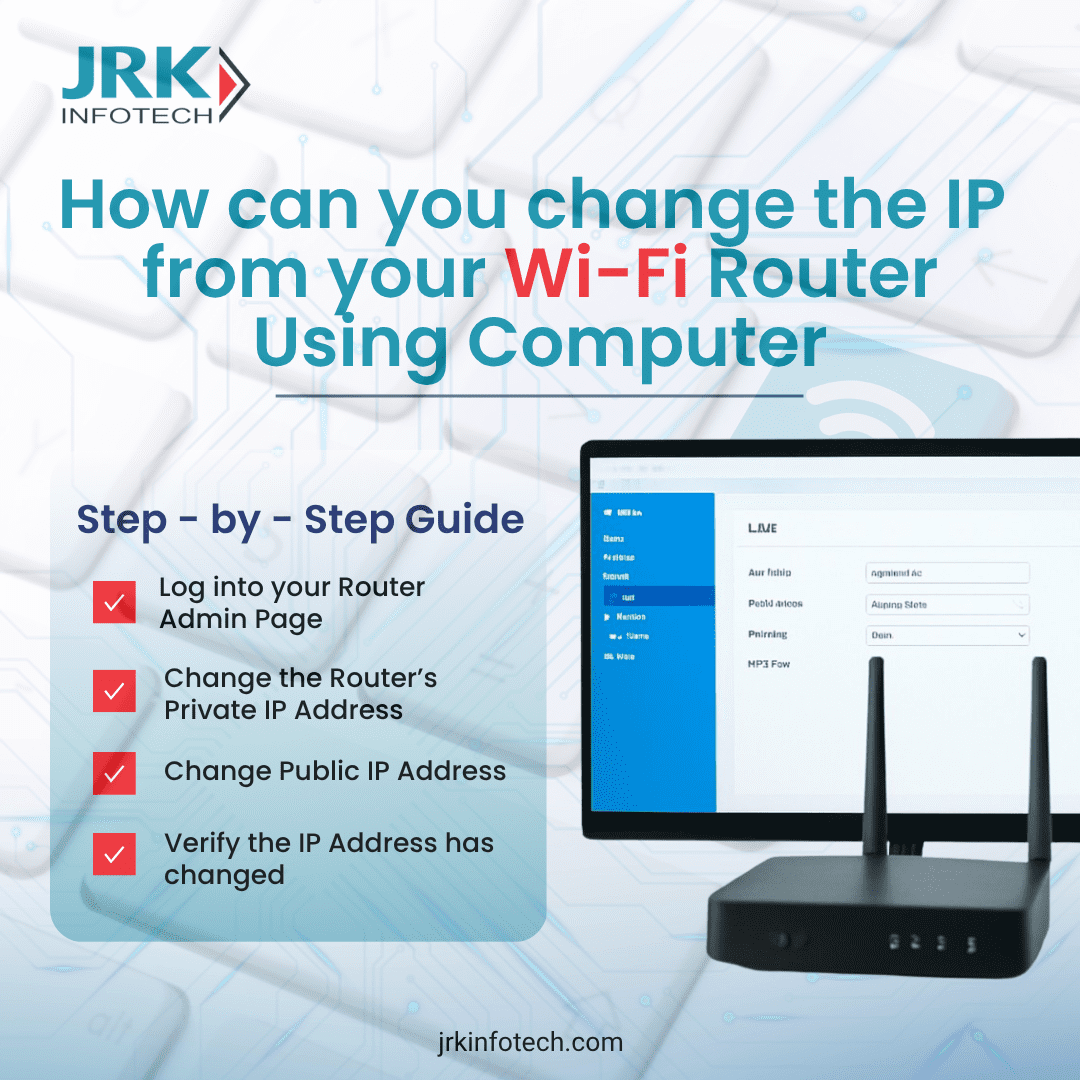
Step-by-Step Guide to Change IP Address Using Your Computer
Step 1: Log into Your Router’s Admin Page
To begin, ensure your computer is connected to the Wi-Fi network. Then:
- Open your web browser and enter your router’s IP address (usually
192.168.0.1or192.168.1.1). - Input the router’s admin credentials. These are often printed on the router or provided by your ISP.
Tip: Don’t know your router’s IP?
Open the Command Prompt (Windows + R, typecmd, hit Enter), then typeipconfigand press Enter. Look for the Default Gateway—that’s your router’s IP.
Step 2: Change Your Router’s Local IP Address (Private)
Once inside your router dashboard:
- Navigate to LAN Settings, Setup, or Network Configuration.
- Locate the IP address section and change the existing one (e.g., from
192.168.1.1to192.168.1.254). - Save changes and reboot the router if prompted.
Note: You may be disconnected temporarily. Reconnect using the new IP address.
Step 3: Change Your Public IP Address (3 Methods)
Changing your public IP is slightly more complex, but there are still easy methods:
🔁 Method 1: Restart Your Router
Most ISPs provide dynamic IPs. Restarting your router (and waiting 10+ minutes before turning it back on) may assign a new public IP.
🌍 Method 2: Use a VPN
A VPN (Virtual Private Network) masks your public IP with one from a different location. This method is reliable for both privacy and location spoofing.
☎️ Method 3: Contact Your ISP
If your ISP has assigned a static IP, you’ll need to request a change directly. Some ISPs may allow you to switch to a dynamic IP setup.
Step 4: Verify the IP Address Has Changed
To check your private IP, open Command Prompt and run:
bashCopyEditipconfig
To verify your public IP, visit https://whatismyipaddress.com
Why You Might Want to Change Your IP
Still wondering if this is necessary? Here are some real-world benefits:
- 🧩 Fix network conflicts in busy environments.
- 🧑💻 Improve security and privacy by avoiding IP tracking.
- 🚫 Bypass content restrictions and access geo-blocked sites.
- ⚙️ Troubleshoot connectivity issues with specific services or apps.
- 📡 Set up remote access or port forwarding correctly.
In short, changing your IP gives you more control over your network.
Pro Tips for Smooth IP Changes
- Always write down your original router settings before making changes.
- Never assign IPs outside the private IP ranges:
10.0.0.0 – 10.255.255.255172.16.0.0 – 172.31.255.255192.168.0.0 – 192.168.255.255
- Secure your router admin panel with a strong password to prevent unauthorized changes.
Final Thoughts
Learning how to change the IP from your Wi-Fi router using your computer gives you full control over your online environment. Whether it’s for enhanced privacy, better connectivity, or overcoming restrictions, making these changes is both useful and empowering.
Start with the basics, follow the steps carefully, and enjoy a more flexible and secure network.